How Can We Make Beaded Jewellery at Home
Making beaded jewellery at home can be a fun and rewarding craft project. Here’s a step-by-step guide to help you get started:
Materials You’ll Need:
- Beads: Choose a variety of beads in terms of size, color, and material.
- Stringing Material: This can be beading wire, elastic cord, thread, or silk cord, depending on the type of jewellery you want to make.
- Clasps and Findings: For necklaces and bracelets, you'll need clasps, jump rings, and crimp beads. For earrings, you’ll need ear hooks or posts.
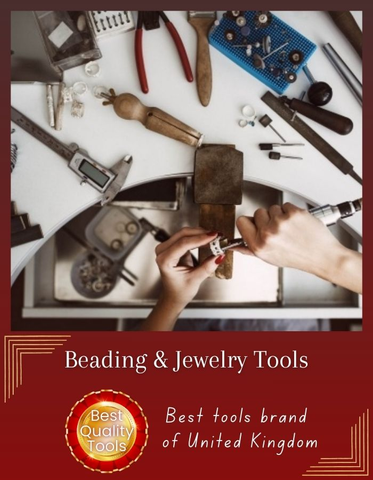
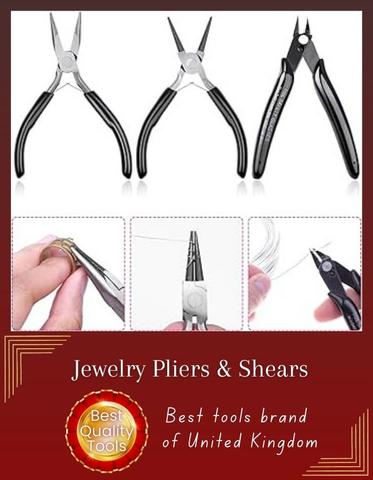
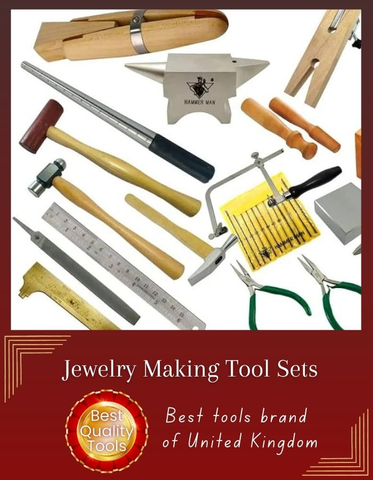
- Tools: Basic tools include needle-nose pliers, wire cutters, and crimping pliers (if you’re using wire).
Basic Steps to Make a Beaded Necklace or Bracelet:
-
Plan Your Design:
- Sketch out your design or lay out your beads in the desired pattern before you start stringing. This helps in visualizing the final piece and ensuring you have all the beads needed.
-
Prepare the Stringing Material:
- Cut a piece of beading wire, elastic cord, or thread to the desired length, adding a bit extra to account for securing the ends and potential adjustments.
-
String the Beads:
- Thread the beads onto your stringing material according to your design. If you’re using wire or thread, you might want to use a needle for easier threading.
-
Secure the Ends:
- For wire: Use crimp beads and crimping pliers to secure the ends. Add a clasp to one end and a jump ring to the other.
- For elastic cord: Simply knot the ends securely. You might want to use a dot of clear glue on the knot for extra security.
- For thread: Use a knotting technique or attach a clasp with jump rings and crimp beads.
-
Finish the Jewellery:
- Trim any excess stringing material.
- For necklaces or bracelets, attach any clasps and check that the piece is securely fastened.
- For earrings, attach beads to earring hooks or posts.
Making Earrings:
-
Prepare Your Beads:
- Choose the beads and prepare them as per your design.
-
Create the Earring Components:
- Use headpins or eye-pins to string beads. Create a loop at the top of each pin with needle-nose pliers.
- Attach the finished beaded components to earring hooks or posts using jump rings.
-
Assemble:
- Make sure all components are securely attached.
Tips:
- Practice: If you’re new to beading, start with simple designs to get the hang of the techniques.
- Use a Bead Board: A bead board helps keep your beads organized and allows you to lay out designs before final assembly.
- Be Patient: Take your time with each step to ensure a polished finish.
With practice, you can experiment with more complex designs and techniques, like bead weaving or incorporating other materials into your jewellery. Have fun with your beading projects!


